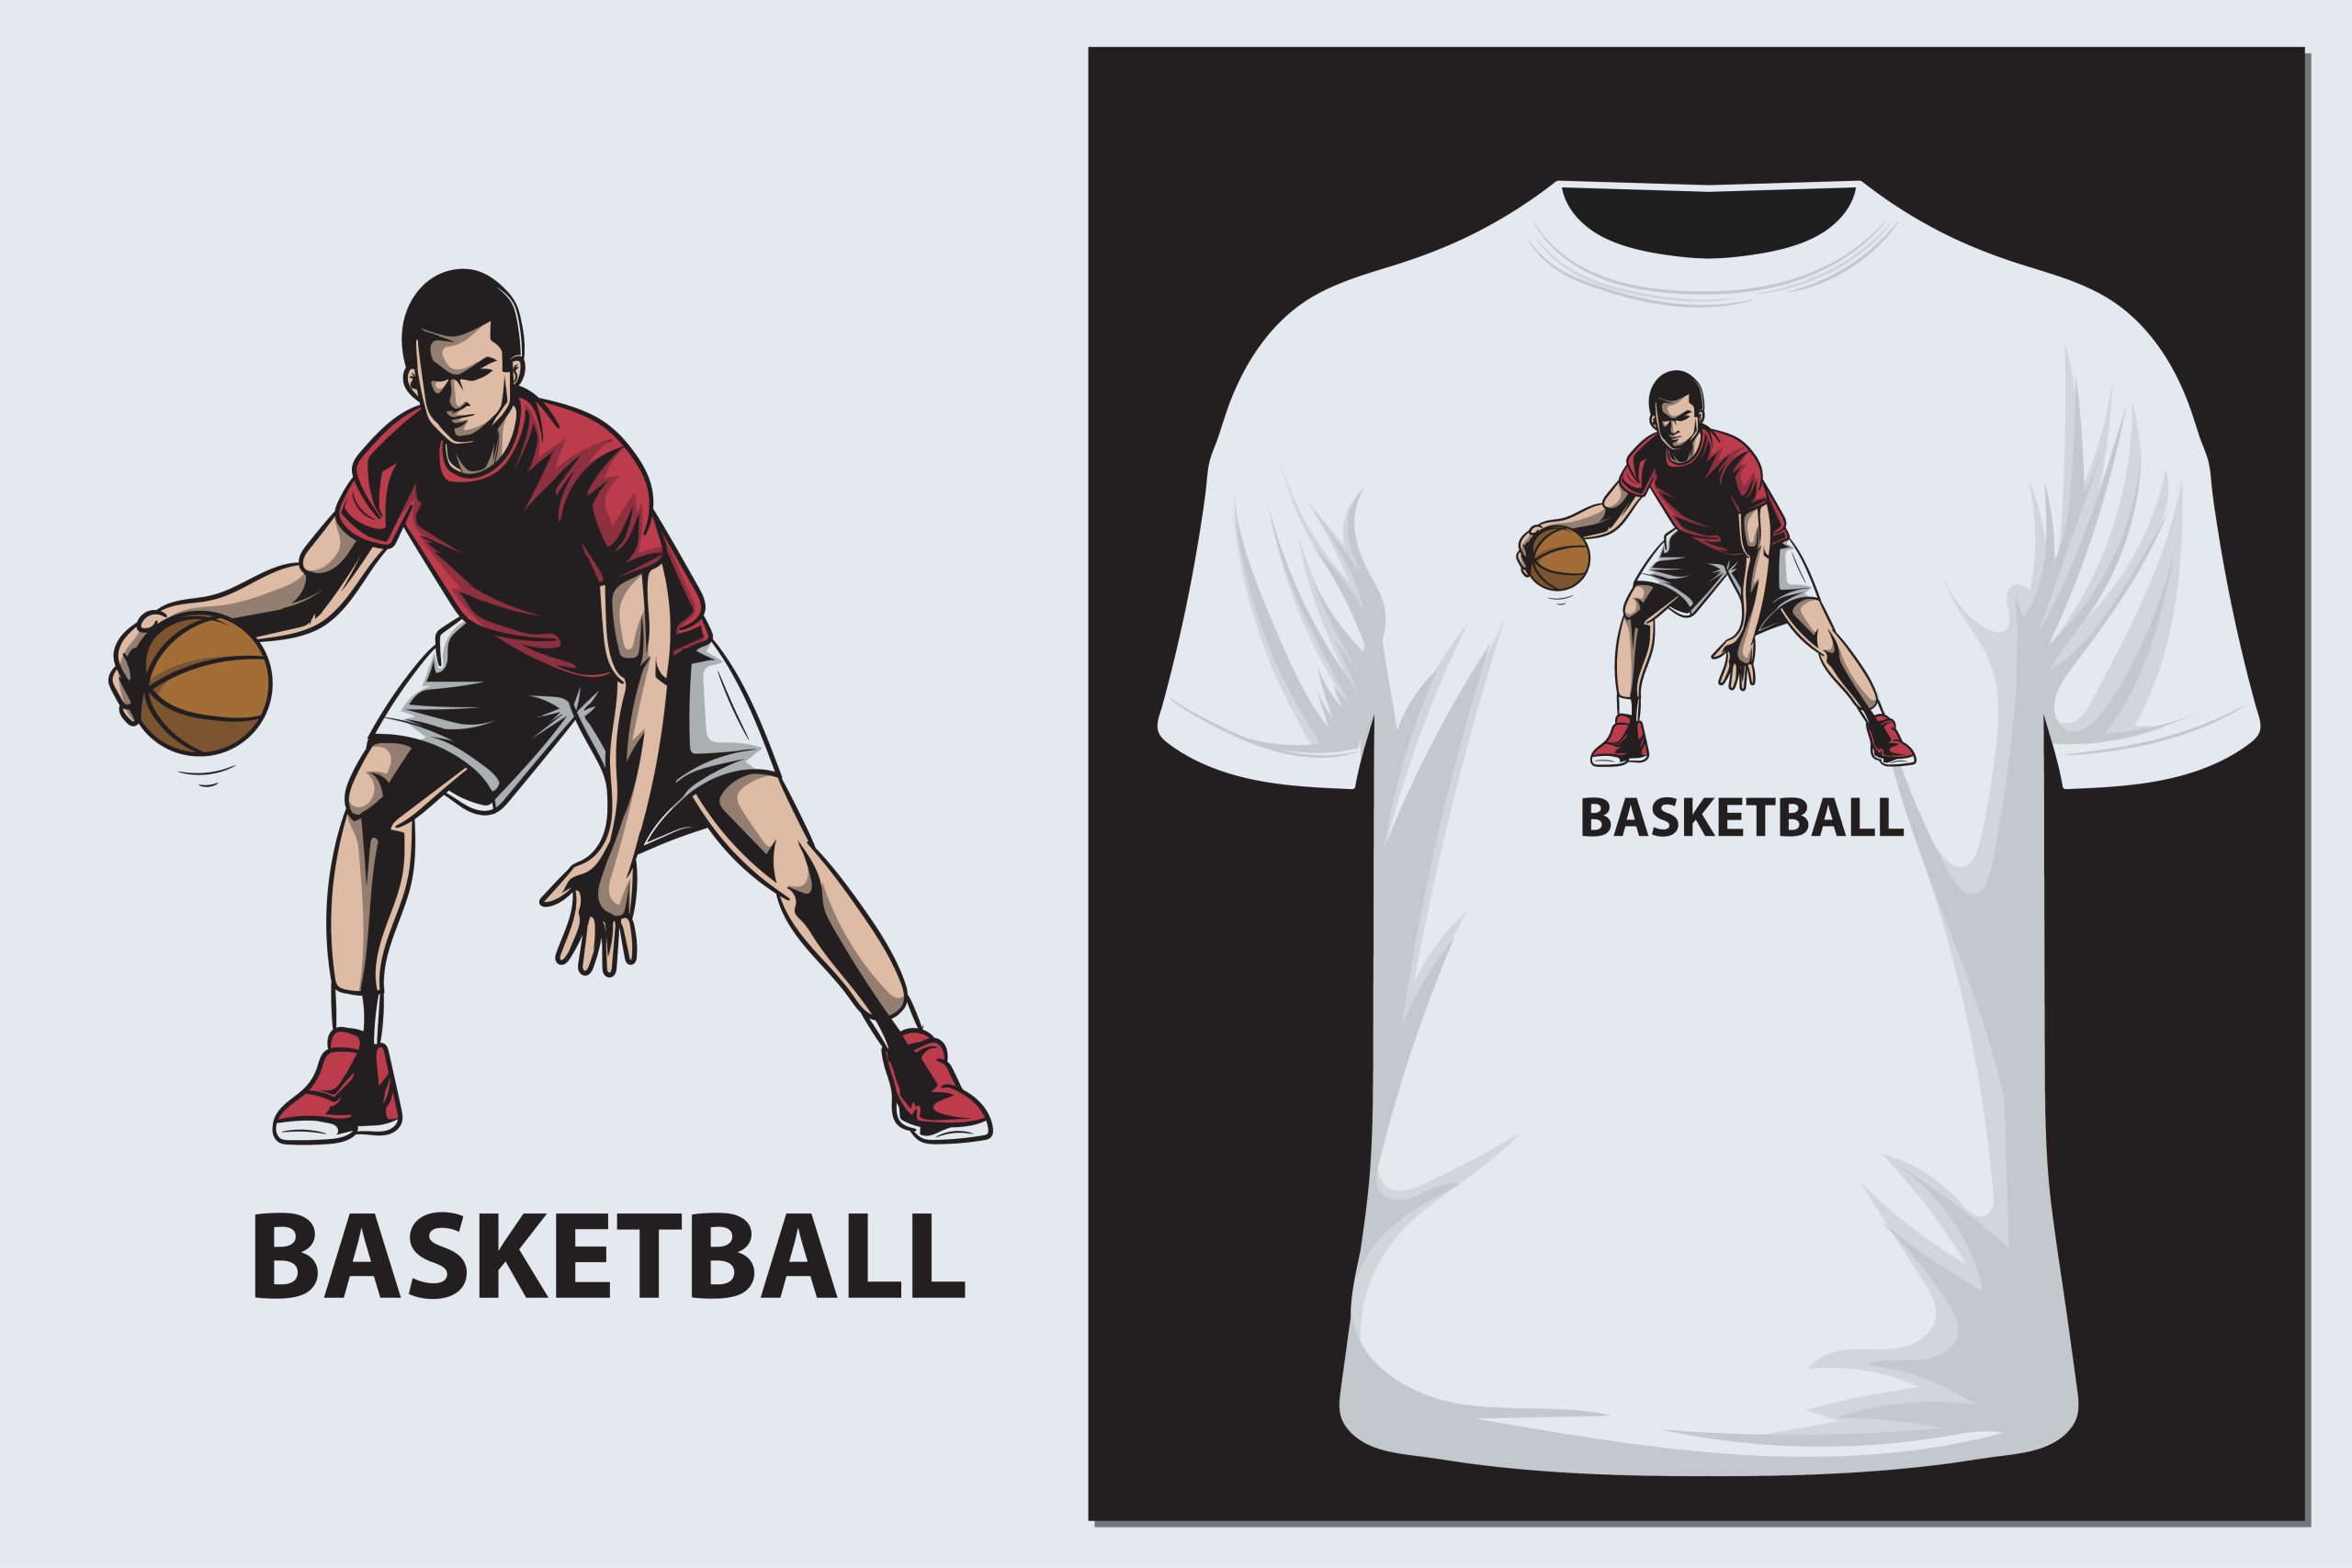
Advanced Layout Tricks for the DTF Gangsheet Builder
Advanced Layout Tricks unlock higher precision in the world of direct-to-fabric printing. When you design a gangsheet with the DTF Gangsheet Builder in mind, the layout becomes a repeatable, efficient process. This approach aligns with the DTF printing workflow and heat transfer design tips, reducing waste and misregistration while speeding up production. By treating each sheet like a compact canvas—a DTF gang sheet design that follows gangsheet layout tricks, with carefully planned grids, margins, and color blocks—you can cut errors and improve consistency. Mastering these Advanced Layout Tricks saves time, money, and headaches across garments from tees to hoodies.
Viewed through an LSI lens, the concept translates to grid-driven planning, modular templates, and scalable layouts that keep color blocks aligned. These parallel expressions—layout optimization, sheet-assembly strategies, and template-based workflows—help teams reproduce results across designs and garments. By reframing the idea as disciplined sheet planning, you can communicate the same core outcomes under different names and maintain consistency. In practice, this means embracing pattern libraries, reusable blocks, and standardized margins as the language of precise, repeatable DTF output. In short, the underlying goal remains the same: clean alignment, reliable color separations, and smooth handoffs from design to production.
Advanced Layout Tricks for DTF Gangsheet Design
When you set up a gangsheet using the DTF Gangsheet Builder, the real gains come from applying Advanced Layout Tricks that treat each sheet as a precise design canvas. A solid grid, consistent margins, and clearly labeled blocks help you translate artwork into a repeatable DTF printing workflow. By aligning designs to a shared grid, you minimize misregistration and reduce waste across batches—critical when you scale to multiple garment sizes or sides. In practice, the focus is on space efficiency, predictable color separations, and clean transfer results, all of which rely on disciplined layout choices that align with heat transfer design tips and overall production goals. This approach supports the broader goals of DTF gang sheet design by turning layout decisions into predictable results.
Beyond the grid, implement color blocks and layered organization to plan ink usage and ensure vibrant results. Use gangsheet layout tricks to assign non-overlapping blocks for each artwork, then group related elements into layers that map to the actual print sequence. This division makes proofing faster and makes it easier to adjust a single color without disturbing neighboring designs. When designers adopt a template-driven workflow within the DTF printing workflow, you gain consistency, faster turnarounds, and more reliable production quality across garments such as tees, hoodies, and bags. The combined effect is less rework and a smoother handoff from design to press.
DTF Printing Workflow: Optimizing with Gangsheet Layout Tricks
To optimize the DTF printing workflow, start with templates that encode margins, grid size, and color-separation rules. Template systems enable reuse of the same block structure across garments and clients, ensuring consistent alignment across the entire sheet. When you pair templates with the DTF Gangsheet Builder, you can drop in new artwork and preserve positioning, reducing setup time and human error. This gangsheet layout tricks approach also makes it easier to manage color blocks, forecast ink usage, and plan color-to-color transitions during heat press. The approach aligns with heat transfer design tips to preserve color fidelity and repeatable results on fabric.
Proofing and scaling are essential for a robust workflow. Start with a mini-proof sheet to verify alignment, scale, and color balance, then compare the digital proof to a physical test print. As you scale designs for different garment sizes, keep the same grid coordinates and margins to maintain consistent density and spacing. This discipline yields a reliable DTF printing workflow that supports a variety of products while reducing misprints, stress on the production line, and the need for rework. By combining templates, orientation awareness, and fabric considerations, you create a scalable process that teams can execute confidently day after day.
Frequently Asked Questions
Advanced Layout Tricks for the DTF Gangsheet Builder: How do these techniques optimize the DTF gang sheet design for consistent, repeatable prints?
Advanced Layout Tricks maximize consistency when using the DTF Gangsheet Builder by turning each sheet into a precise printing plan. In DTF gang sheet design, a disciplined grid, fixed margins, and clearly labeled blocks keep artwork aligned across sizes and garments. Templates and batch proofs speed iteration and reduce misregistration, making the DTF printing workflow more predictable and reproducible, with heat transfer design tips baked in through standardized margins, bleed, and color-blocking.
What gangsheet layout tricks within the DTF printing workflow help manage grid, margins, color blocks, and orientation for reliable heat transfer design tips?
Key gangsheet layout tricks include mastering the grid, planning margins and bleed, using color blocks and layer management, and applying consistent orientation. These steps streamline the DTF printing workflow and improve heat transfer outcomes by reducing misregistration and ink waste. By stacking reusable templates and a robust proofing loop, you can reproduce layouts for different garments with minimal manual tweaking.
| Key Point | Description |
|---|---|
| The Foundation: Solid Gangsheet Layout | A gangsheet is a single printing plan requiring spacing, orientation, color separation, and heat transfer considerations to minimize misalignment and waste. |
| Trick 1: Master the Grid | Establish a uniform grid (e.g., 8×8 cm or 10×10 cm) and align every element to it to ensure consistent spacing, easy reassembly for different sheet sizes, and faster batch proofs. |
| Trick 2: Margins, Bleed, and Safe Areas | Use standard margins (3–5 mm), add safe areas, and include bleed so small shifts don’t show white edges; create a lightweight template to automate margins. |
| Trick 3: Color Blocks and Layer Management | Treat color blocks as non-overlapping zones; use layers for base colors, overlays, highlights; helps with color separations and proofing. |
| Trick 4: Orientation, Mirroring, and Fabric Considerations | Plan for mirrored placements if garments are printed on multiple sides; annotate orientation markers; adjust for fabric stretch and heat-press variance. |
| Trick 5: Template Systems and Reusable Patterns | Create templates for common shapes, slots, and spacing; drop-in artwork into slots; document grid, margins, and color rules. |
| Trick 6: Proofing, Validation, and Mockups | Run mini-proofs and digital proofs to validate alignment, scale, and color balance; use a rapid feedback loop and rely on templates and layers for quick reproofs. |
| Trick 7: Scaling for Different Garment Sizes | Design with scalable vector assets when possible; keep proportional spacing; preserve original grid coordinates when resizing; maintain consistent DPI. |
| Potential Pitfalls and How to Avoid Them | Overcrowding, inconsistent margins, and skipped proofing cause misprints and waste. Lock the grid, standardize margins, use color blocks and templates, and review layouts with the team. |
| Putting It All Together: Practical Example | A practical sheet with 8 designs (4 portrait, 4 landscape) on a 10 cm grid with 3 mm margins; separate color blocks per design; include orientation markers and a mirrored variant; save as a reusable template. |
Summary
Advanced Layout Tricks deliver practical, repeatable methods that align with how modern DTF print shops operate. By embracing a disciplined grid, carefully planned margins, strategic color blocks, thoughtful orientation, robust templates, and rigorous proofing, you can produce gang sheets that print cleanly, maximize fabric yield, and scale across product lines. The result is a smoother DTF printing workflow, fewer misprints, and a confident hand-off from design to production. If you commit to these techniques, you’ll find that what once felt like a complex puzzle becomes a reliable, repeatable process that your team can execute efficiently day after day. Remember: great layout is the foundation of great print quality, and Advanced Layout Tricks are the map that guides you from concept to crisp, reproducible results.