
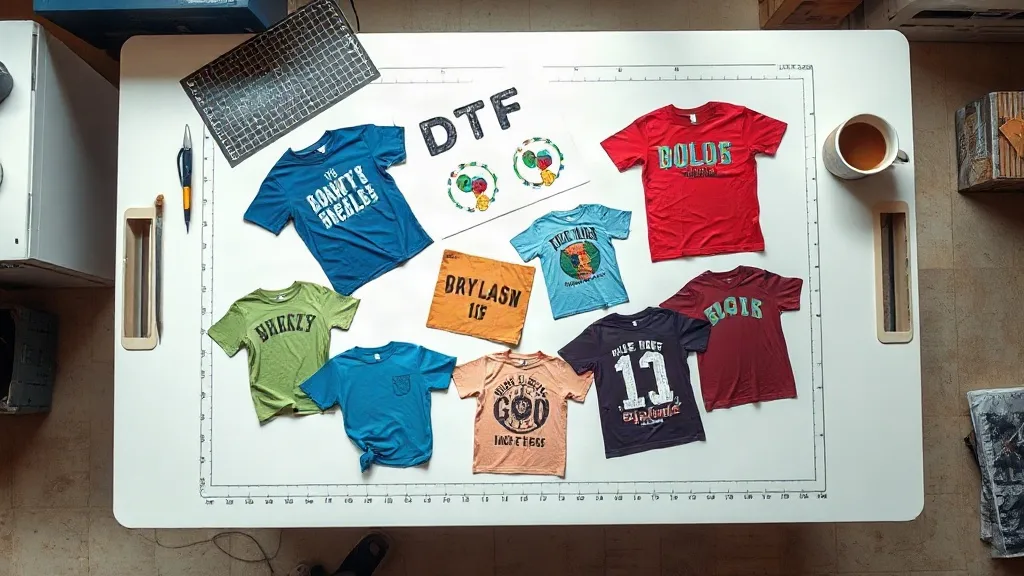
If you run a print shop, you know the struggle: a customer orders three shirts, another wants five, and a third needs a dozen. Each job is small, but together they make up your daily grind. The problem? Printing each order separately wastes film, powder, and time. That’s where a DTF Gangsheet changes the game. By combining multiple designs onto a single sheet, you maximize every inch of film and turn small jobs into big profits. But here’s the catch: not all gangsheets are created equal. The secret lies in smart nesting, the art of arranging designs to minimize waste and streamline production. In this guide, we’ll dive deep into how smart nesting can transform your workflow, boost your bottom line, and keep your customers coming back.
Why Smart Nesting Matters for Your Bottom Line
Let’s talk numbers. DTF film isn’t cheap, and every inch you waste is money down the drain. If you’re printing individual orders without optimizing layout, you’re likely wasting 20-30% of your film. Over a month, that adds up to hundreds of dollars. Smart nesting flips the script: by carefully placing designs to fill every gap, you can reduce waste to under 5%. That’s not just savings; it’s profit you can reinvest in your business.
But the benefits go beyond film cost. A well-nested gangsheet also reduces powder consumption. DTF powder adheres to the printed areas, so less film waste means less powder waste. And let’s not forget time: fewer sheets mean faster cutting, faster pressing, and faster fulfillment. In a competitive market, speed is a differentiator. Customers appreciate quick turnarounds, and you can handle more orders without hiring extra staff.
The Core Principles of Smart Nesting
Smart nesting isn’t just about cramming designs together. It’s a strategic approach that balances efficiency with quality. Here are the key principles to keep in mind.
1. Group by Color and Complexity
DTF printing uses CMYK plus white ink, and each color requires a separate pass. If you nest designs with vastly different color profiles, you might end up with more ink changes and longer print times. Instead, group designs with similar color palettes. Also, consider complexity: intricate designs with fine details may require slower print speeds, so placing them together can optimize the printer’s performance.
2. Rotate and Flip for Maximum Coverage
Don’t be afraid to rotate designs to fill gaps. A shirt logo that’s 10 inches wide might fit perfectly vertically in a narrow space. Similarly, flipping a design can sometimes create a better fit, especially if it’s asymmetrical. Nesting software makes this easy, but even manual adjustment can yield significant savings.
3. Mind the Gaps
Even small gaps between designs can add up. Use every square inch by placing smaller elements like sleeve logos or pocket prints in those leftover spaces. If you’re printing a large back design, see if you can fit a small front logo beside it. The goal is to leave as little unused film as possible.
4. Standardize Sizes When Possible
If you frequently print common sizes, such as 10x12 inches for standard front prints, consider standardizing your gangsheet dimensions. This simplifies nesting and allows you to create templates for repeat orders. Templates save time and ensure consistency, especially when training new staff.
How to Implement Smart Nesting in Your Workflow
Now that you understand the principles, let’s walk through a practical workflow for creating efficient gangsheets.
Step 1: Collect and Organize Orders
Start by gathering all pending orders. Group them by due date, customer, or order type. If you have many small orders, batch them together. For example, set aside a day to process all single-shirt orders. This batching makes it easier to nest multiple designs on one sheet.
Step 2: Use Nesting Software
While you can nest manually, software can automate the process and find optimal arrangements. Look for RIP software with nesting features, or dedicated nesting tools. These programs allow you to import designs, set spacing, and automatically arrange them for minimal waste. Some even simulate the print to ensure no overlaps.
Step 3: Preview and Adjust
Always preview your gangsheet before printing. Check for any gaps, overlaps, or orientation issues. Make manual adjustments if needed. Remember, the goal is to fill the sheet efficiently while maintaining print quality. Don’t sacrifice quality for density.
Step 4: Print, Cut, and Press
Once satisfied, send the gangsheet to your DTF printer. After printing and powdering, cut out each design. If you’ve nested smartly, cutting will be straightforward with minimal waste. Then press onto garments as usual. The time saved in cutting and pressing adds up quickly.
Common Mistakes to Avoid
Even experienced printers fall into traps. Here are pitfalls to watch out for.
- Overcrowding: Leaving too little space between designs can cause ink bleeding or cutting errors. Maintain at least 0.25 inches of space.
- Ignoring grain direction: DTF film has a grain, and designs should align with it for consistent stretching. Rotating designs arbitrarily can affect durability.
- Forgetting about white ink: White ink is thicker and can cause texture if overused. Nest designs to balance white ink coverage.
- Not updating templates: If you use templates, review them periodically. What worked for last season’s designs may not be optimal now.
Real-World Example: From Waste to Profit
Consider a small shop that prints 50 shirts per week, each with a different design. Without nesting, they use 50 separate sheets of film, wasting about 30% of each sheet. That’s 15 sheets wasted weekly. At $2 per sheet, that’s $30 lost per week, or $1,560 per year. By implementing smart nesting, they combine 5 designs per sheet, reducing film usage to 10 sheets per week and waste to 5%. The savings: $25 per week, $1,300 per year. Plus, they cut production time by 40%, allowing them to take on more orders. That’s a clear win.
Frequently Asked Questions
What is the ideal spacing between designs on a DTF gangsheet?
A minimum of 0.25 inches (6.35 mm) is recommended to prevent ink bleeding and ensure clean cutting. For designs with fine details, increase to 0.5 inches.
Can I nest designs of different sizes on the same sheet?
Absolutely. In fact, mixing sizes is a key strategy to fill gaps. Place larger designs first, then fill remaining spaces with smaller ones.
How does smart nesting affect print quality?
When done correctly, smart nesting does not compromise quality. However, overcrowding or improper spacing can lead to ink smudging or cutting errors. Always preview and adjust.
Do I need special software for nesting?
While manual nesting is possible, software automates the process and often finds better arrangements. Many RIP software packages include nesting features. Invest in a tool that suits your volume.
What’s the maximum sheet size for DTF printing?
Most DTF printers support sheets up to 13x19 inches or 24 inches wide. Check your printer’s specifications. For larger runs, consider roll-to-roll printing with nesting.
Smart nesting is more than a technique; it’s a mindset. By treating every inch of film as valuable, you optimize your entire operation. Start small: pick one week’s orders and experiment with nesting. Measure the savings, and you’ll never go back. Your profit margin will thank you.