DTF GangSheet Builder: From Design to Finished Sheet
DTF GangSheet Builder introduces a powerful, time-saving approach to multi-design transfers, turning complex layouts into a streamlined, designer-friendly workflow that fits into busy production schedules and reduces bottlenecks. Created to protect color fidelity and speed production, it guides you from concept to finished gang sheet with a repeatable process, delivering dependable results even as you scale or experiment with new artwork. If you’re searching for how to create gang sheets, this framework provides a practical resource you can adapt to your equipment and software. It also offers gang sheet design software tips, outlining grid structures, margins, bleed, and export settings while aligning with best practices from the broader industry and offering actionable guidance. Together, these elements form a reliable, repeatable workflow that keeps production consistent across runs, across different designs, and across team members who need a clear playbook.
Viewed through the lens of digital transfer printing, this concept centers on assembling multiple designs into a single, print-ready sheet. Think of it as a design-to-production blueprint where grid layouts, margins, and color control are optimized for batch releases and consistent results. Another way to describe it is a multi-design transfer panel that reduces setup time and material waste while preserving image integrity. In practice, these ideas underpin resources and guidance that emphasize scalable, repeatable layouts, including practical tips and related DTF workflows.
1) Understanding the Value of a DTF Gang Sheet in Modern Print Production
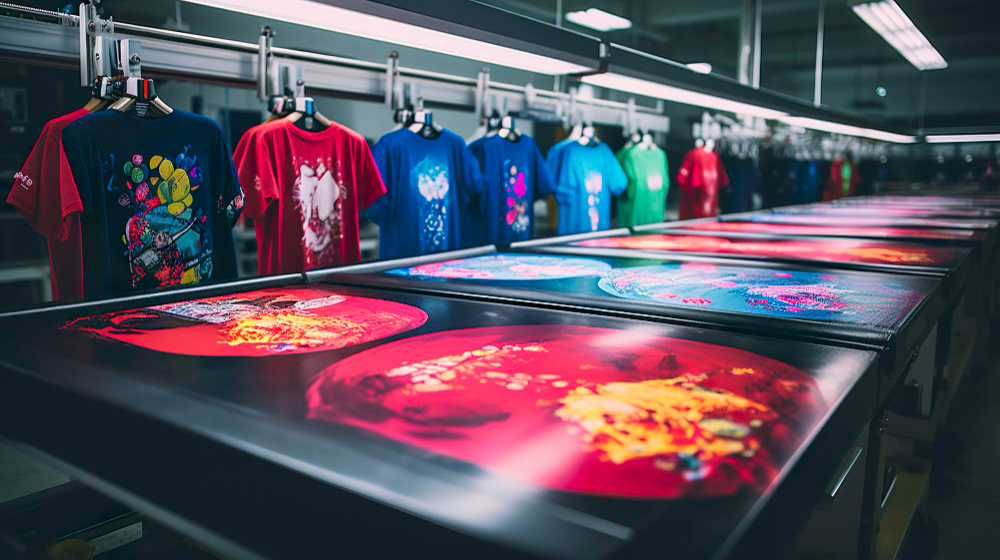
A DTF gang sheet is a layout that combines multiple designs into a single transfer. This approach dramatically reduces setup time on heat presses, minimizes material waste, and increases throughput—especially when working with small runs, consumer packs, or apparel collections. By consolidating designs into one sheet, you can streamline production without sacrificing color fidelity or print quality, making it a practical time-saver for any DTF workflow.
This concept is central to a DTF gang sheet tutorial, and tools like the DTF GangSheet Builder are designed to operationalize this idea from concept to production. Reading through a guide that aligns with a DTF printing design guide helps you apply industry-standard practices, ensuring your gang sheet plans translate into repeatable, high-quality results across batches.
2) Planning and Layout Fundamentals: Designing Efficient Gang Sheets
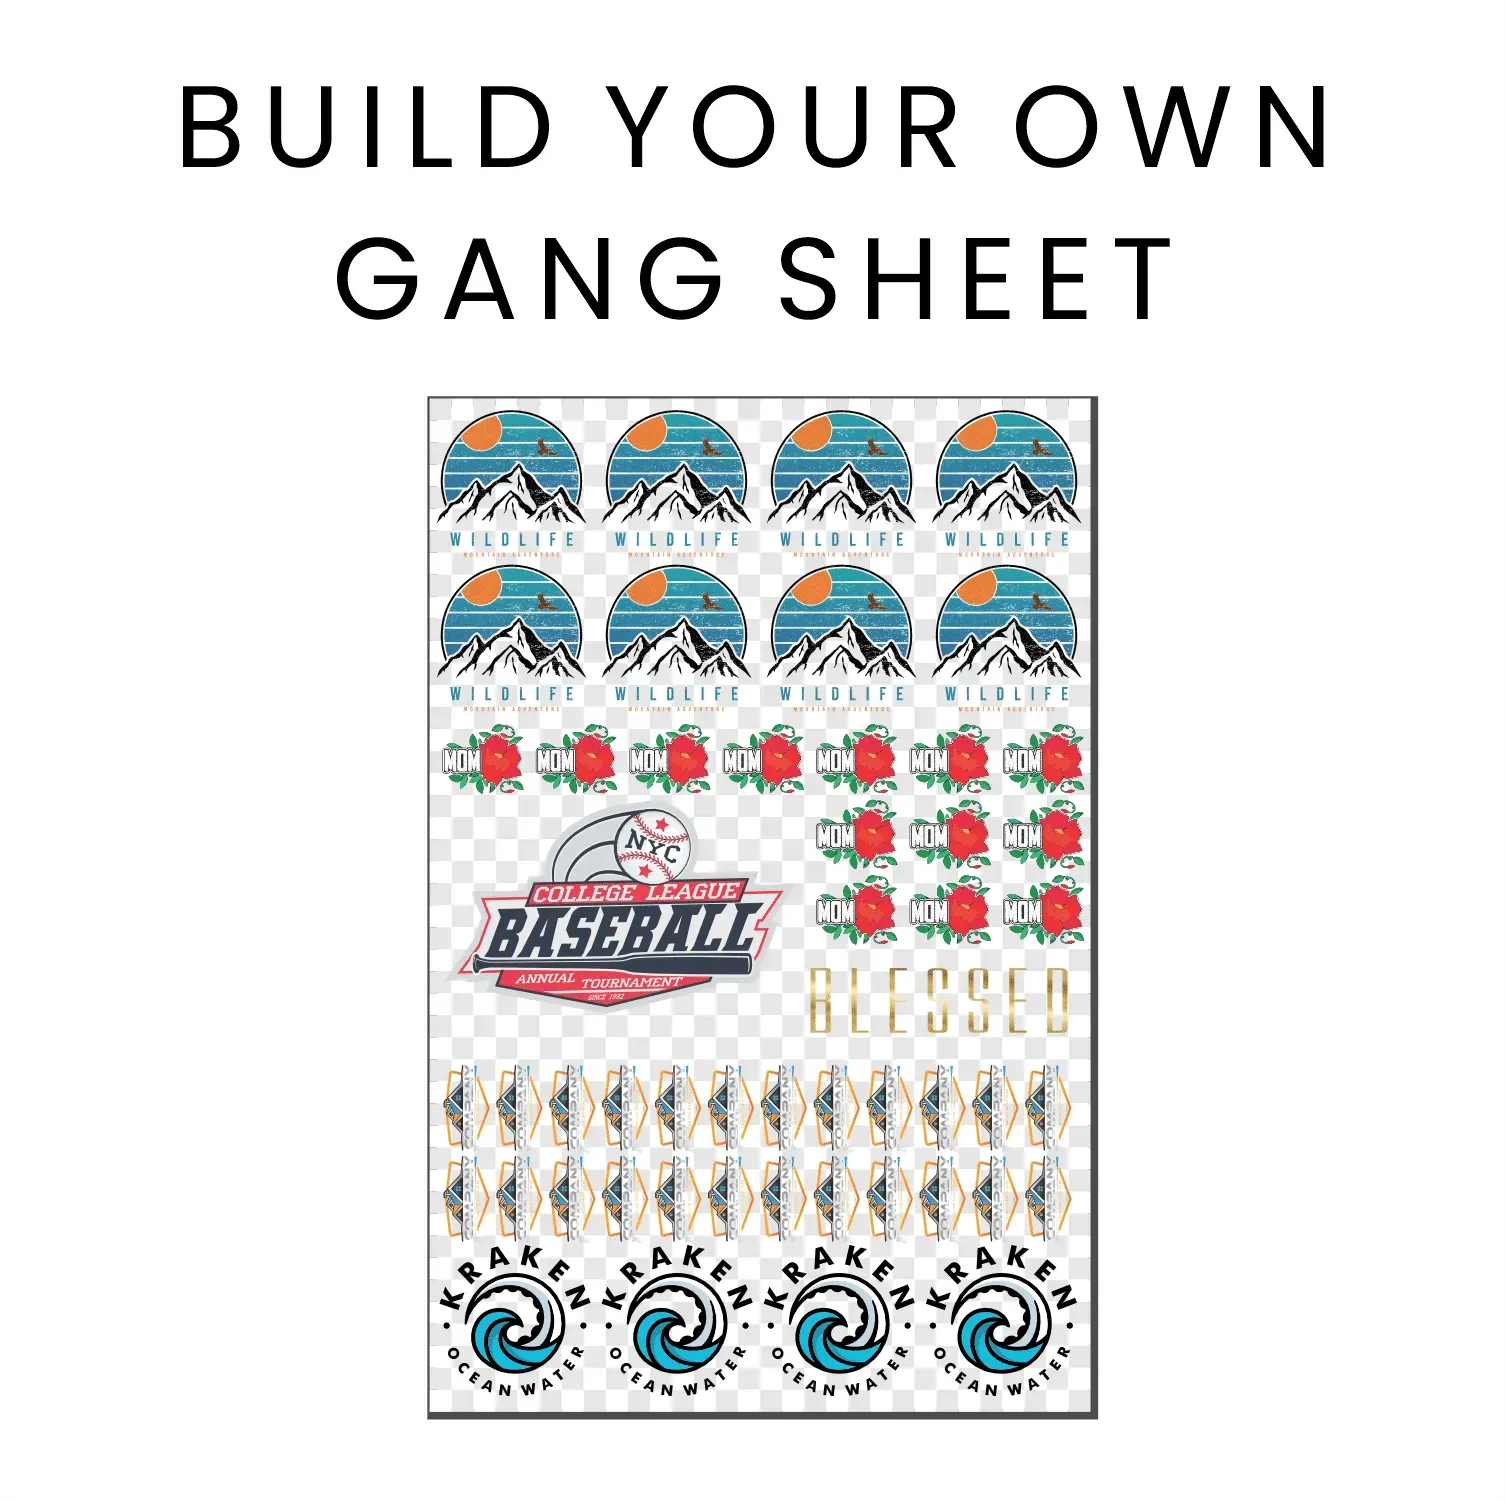
Successful gang sheets start with careful planning of the grid, tile sizes, total sheet dimensions, and the number of designs per sheet. Deciding on end-use locations and ensuring uniform margins, bleed, and safe areas will save you time during trimming and transfer. Documenting the grid in a template or spreadsheet helps keep every design aligned and reproducible for future projects.
With planning in place, move to the design and arrangement phase. Use a master file for the grid and separate layers for each design to simplify edits. This approach reflects practical gang sheet design software tips that keep your workflow efficient, scalable, and consistent, aligning with the broader guidance found in a DTF printing design guide.
3) Color Management and Image Preparation for DTF Gang Sheets
Color accuracy is critical when you’re placing multiple designs on one sheet. Work in a consistent color space (often RGB for design), calibrate monitors, and plan a clear path for converting to the printer’s color profile. Target a high resolution (typically 300 DPI) and use transparent PNGs or TIFFs to preserve edge quality and avoid unwanted backgrounds. Including visible color guides on the layout can help when color matching across designs matters.
The DTF GangSheet Builder and related workflows support careful color planning, helping you maintain consistency across all designs on the sheet. Early attention to color workflow reduces drift between designs and supports adherence to a DTF printer workflow for gang sheets, a topic you’ll find addressed in a solid DTF printing design guide.
4) Exporting and File Prep for Production Ready Gang Sheets
Export decisions directly impact production, so choose a single production-ready file with clear naming to simplify downstream work. Common options include PNG with transparency or TIFF at 300 DPI, along with a suitable color profile for your printer. Establish predictable naming conventions tied to batch dates and design numbers to streamline production tracking.
Consider embedding alignment markers or crop marks if your workflow requires them, and manage file size by optimizing layers and assets. This is a practical part of the process that you’ll often see in a DTF gang sheet tutorial, and it aligns with the notion of how to create gang sheets in a repeatable way, so your assets stay organized for future runs.
5) Production Workflow: From Printing to Finishing
A smooth production workflow begins with pre-press checks that verify alignment, margins, and artifact-free designs. Prepare transfer film, adhesive, and substrates with consistent thickness and surface cleanliness. Plan the printing order for multiple sheets to minimize changes, and document heat press settings (temperature, time, pressure) for each material to ensure repeatability.
Post-press handling is equally important—allow transfers to cool and inspect for color fidelity and edge trim quality. A well-documented production workflow supports the DTF printer workflow for gang sheets, helps prevent errors, and makes it easier to train new team members on best practices within the broader DTF printing design framework.
6) Quality Assurance, Troubleshooting, and Best Practices for Reproducible Results
Quality assurance should occur at multiple points: during design, before printing, and after transfer. Check typography, ensure scalable vector artwork remains crisp, and verify that color swatches translate well to print. Establish a repeatable QA routine to catch issues early and tie root causes back to design, export, printing, or pressing stages.
Common issues include color drift among designs on the same sheet, misalignment from scanning or cutting, and bleed problems. Adopt a systematic approach to QA, and leverage gang sheet design software tips to keep layouts consistent over time. This aligns with the broader guidance of a DTF gang sheet tutorial and helps ensure that your production remains efficient, predictable, and ready for scaling.
Frequently Asked Questions
What is the DTF GangSheet Builder and how does it help with how to create gang sheets?
The DTF GangSheet Builder is a purpose-built workflow tool that streamlines planning, design, export, and production of gang sheets. By providing a grid-based canvas, reusable templates, and clear export presets, it makes the process of how to create gang sheets faster, repeatable, and less prone to misalignment, while preserving color fidelity.
How does the DTF GangSheet Builder support a DTF printing design guide?
It aligns with a DTF printing design guide by enforcing best practices such as consistent color management, proper margins and bleeds, safe areas, and scalable artwork. The builder guides you from initial layout to production-ready files that follow industry standards.
What are some key gang sheet design software tips you can apply with the DTF GangSheet Builder?
Key gang sheet design software tips you can apply include using a master grid, organizing designs on separate layers, maintaining precise snapping and spacing, and keeping a library of reusable assets. The DTF GangSheet Builder supports these tips by centralized layout controls and preserving editability.
How does the DTF GangSheet Builder fit into the DTF printer workflow for gang sheets?
The builder fits the DTF printer workflow for gang sheets by covering the full path from planning to post-press checks. It supports export of production-ready files (with correct color profiles and resolution) and emphasizes repeatable settings for heat-press and material handling.
What export options and color settings does the DTF GangSheet Builder recommend for production-ready gang sheets?
Export options typically include PNG with transparency or TIFF at 300 DPI, with appropriate color profiles (often sRGB for web and printer-specific profiles for production). It also encourages organized file naming, crop marks as needed, and layer management to support the DTF printer workflow for gang sheets.
In a DTF gang sheet tutorial, how does the DTF GangSheet Builder help maintain grid consistency and color accuracy across designs?
In a DTF gang sheet tutorial style, the DTF GangSheet Builder helps maintain grid consistency and color accuracy by enforcing a rigid grid, safety margins, and color guides, plus a library of assets that ensure uniformity across designs and batches.
| Section | Key Points | Notes |
|---|---|---|
| Understanding the gang sheet concept |
|
Foundation for efficient DTF production |
| Tools, software, and preparation |
|
Prepares files for reliable gang sheet creation |
| Step 1 — Planning the grid and layout |
|
Sets the blueprint for the sheet |
| Step 2 — Designing and arranging the gang sheet |
|
Emphasizes scalable, repeatable layouts |
| Step 3 — Color management and print preparation |
|
Maintains color fidelity across the sheet |
| Step 4 — Exporting the gang sheet for production |
|
Ensures production-ready assets |
| Step 5 — Production workflow and printer setup |
|
Reliable, repeatable production flow |
| Step 6 — Quality assurance and troubleshooting |
|
Reduces rework and inconsistencies |
| Tips and best practices for gang sheet design |
|
Supports scalable, repeatable workflows |
| Real-world example: a practical walkthrough |
|
End-to-end workflow demonstration |
| Conclusion |
|
Summary of benefits |
Summary
Conclusion paragraph will follow the table in the final output.