DTF Transfers for T-Shirts: Best Practices & Care Tips
DTF Transfers for T-Shirts are revolutionizing apparel decoration, delivering vibrant designs with durable adhesion and excellent color reproduction. Whether you’re a small business owner, a hobbyist, or a screen-printer exploring new options, understanding the technology behind fabric transfers is essential. This introductory guide outlines best practices, deployment steps, and care routines that maximize longevity and appearance. When you master the process—from artwork prep to washing aftercare—you unlock consistent, professional results that withstand daily wear and wash cycles. In this post you’ll find practical advice, tested tips, and common pitfalls to avoid so you can consistently produce high-quality DTF transfers for T-Shirts your customers will love.
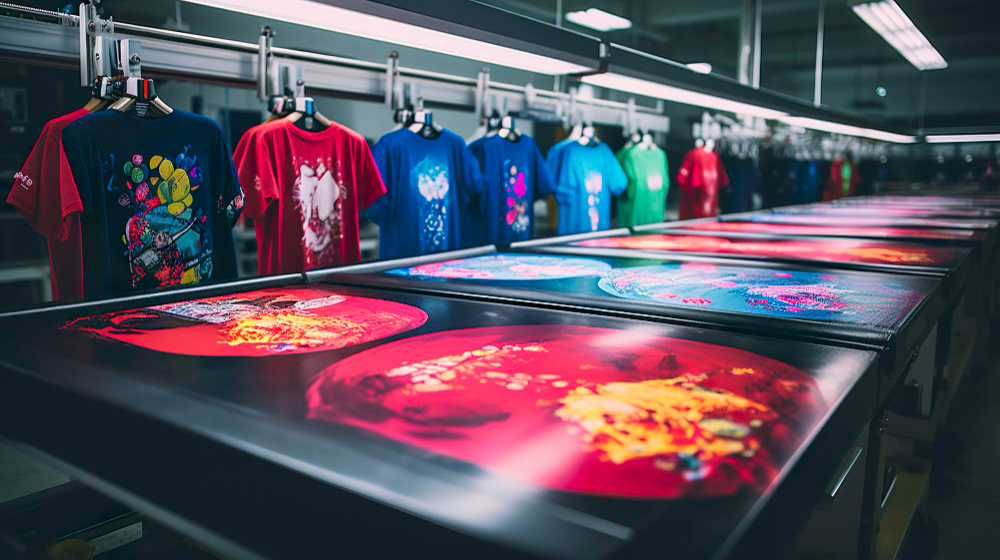
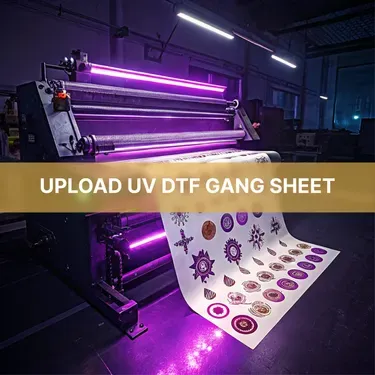
A practical way to describe this technology is as a film-backed transfer method, where artwork is printed onto a specialty release film and then bonded to fabric using an adhesive layer. This approach combines the flexibility of a heat-press process with the color control of a film-based workflow, often described in industry circles as direct-to-film printing. In practice, the workflow emphasizes proper curing of the adhesive film, precise garment preparation, and consistent transfer pressure to ensure durability. By thinking in terms of a bonding film system and post-press care, you can optimize results and deliver comfortable, long-lasting designs.
DTF Transfers for T-Shirts: Maximizing Color Longevity and Durable Adhesion
Direct-to-film printing has become a go-to method for vibrant T-shirt designs that endure. When you optimize the full workflow—from artwork preparation and film handling to curing powder and heat press application—you improve not only color accuracy but also the long-term durability of each transfer. Emphasizing DTF color longevity means choosing compatible fabrics, ensuring proper curing, and following care routines that protect the print’s integrity. Incorporating elements of DTF transfer care and heat press settings into your standard operating procedures helps you deliver professional results with repeatable outcomes.
To get the most from your DT F transfers for T-Shirts, align your process with proven practices for direct-to-film printing: verify artwork at high resolution, calibrate color management, and test a few swatches to lock in ideal heat and pressure. Properly cured powders and precise peel timings reduce edge halos and enhance adhesion across cotton, blends, and select synthetics. By routinely addressing DTF troubleshooting during setup and post-press handling, you’ll minimize surprises on larger runs and maintain a consistent, high-quality appearance across garments.
Direct-to-Film Printing Best Practices: Design, Curing, and Care for Consistency
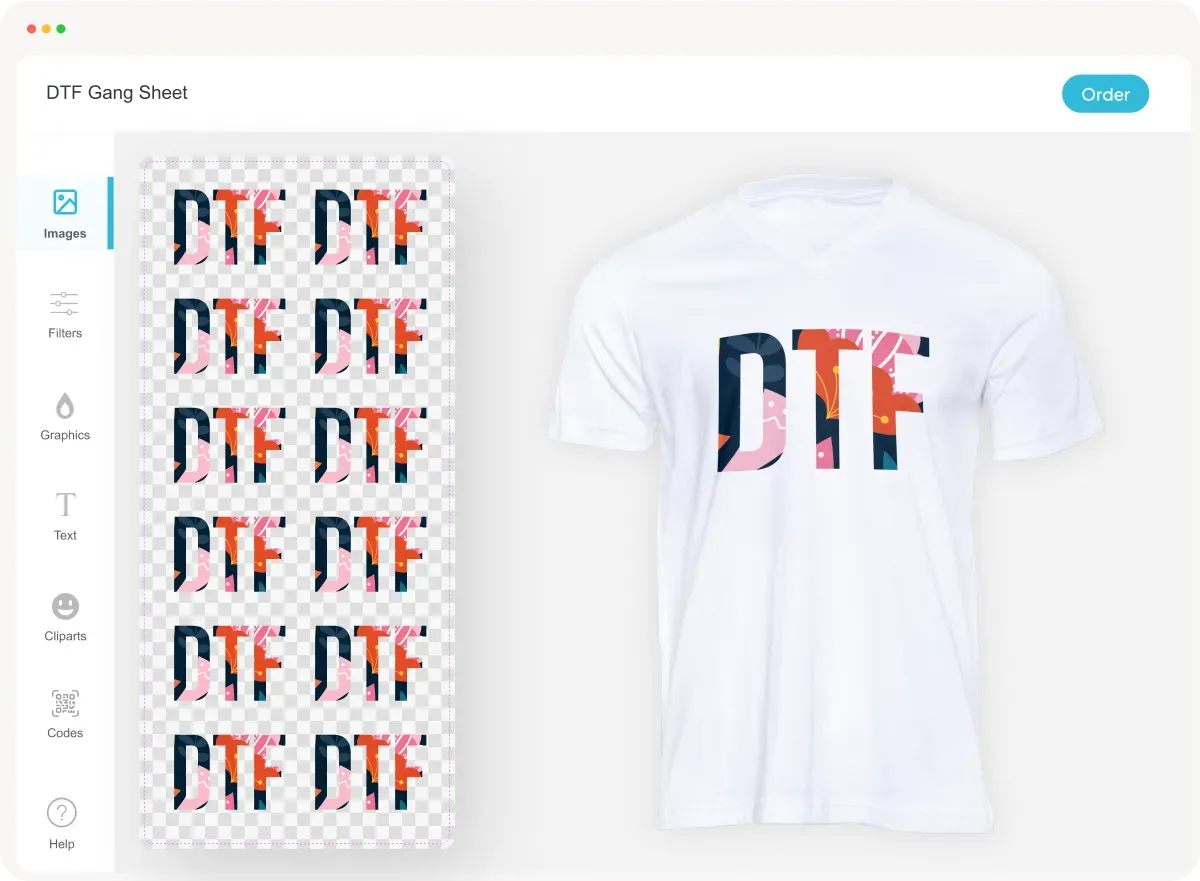
A well-planned design stage sets the foundation for successful DTF transfers. Consider mirror alignment for transfer orientation, account for fabric texture, and select high-resolution artwork to preserve detail on the film. This stage ties directly into heat press settings, since accurate temperature, pressure, and press duration influence ink transfer and edge sharpness. By integrating DTF troubleshooting checks into early production, you can catch issues before they become costly defects and ensure you maintain color fidelity across a range of garment colors.
Post-press care and washing play a crucial role in long-term performance. Adhering to DTF transfer care guidelines—such as washing garments inside-out, using appropriate detergents, and avoiding aggressive drying cycles—helps preserve color longevity and bond strength. Regularly reviewing heat press settings for different fabrics and keeping clients informed about proper care instructions reduces returns and enhances customer satisfaction. This holistic approach to Direct-to-Film Printing ensures designs stay vibrant, flexible to wear, and resistant to cracking or fading through repeated wash cycles.
Frequently Asked Questions
How can I optimize heat press settings for DTF Transfers for T-Shirts in direct-to-film printing to ensure consistent adhesion and vibrant color?
For DTF Transfers for T-Shirts, start with adhesive guidelines: typical temperatures of 160-170°C (320-338°F) for 12-15 seconds with firm, even pressure. Always test on sample fabrics and adjust time, temperature, or pressure based on results. Use a protective silicone sheet, ensure the garment is pre-pressed to remove moisture, and verify whether a warm or hot peel is required. Regularly calibrate your heat press and use a digital pressure gauge to maintain uniform pressure across the design area. If results vary by fabric, run additional test swatches and consult DTF troubleshooting guides as needed.
What steps contribute to better DTF color longevity and proper DTF transfer care for T-Shirts?
Color longevity starts with proper powder curing, following the manufacturer’s curing instructions to avoid white specks or edge wear. After transfer, care the shirt by washing inside-out in cold water on a gentle cycle with mild detergent. Avoid chlorine bleach and fabric softeners, and dry on low heat or line-dry. If ironing is necessary, iron on the reverse side or use a protective sheet. Perform small fabric tests to confirm compatibility, and provide clear DTF transfer care instructions to customers to maximize the life of the design.
| Topic | Key Points |
|---|---|
| What are DTF Transfers for T-Shirts? | Direct-to-film printing uses a film with adhesive and a curing powder to transfer vibrant designs with a soft hand and strong adhesion. Works well on cotton, blends, and some synthetics. Efficient workflow suitable for small runs and on-demand printing, enabling a broad range of garment colors and textures. |
| Core Concepts You’ll Encounter | Direct-to-film printing on film (not the garment) for better color management; transfer film and adhesive with curing powder; substrate compatibility (cotton, blends, some polyesters); proper curing and handling to ensure clean edges and consistent adhesion. |
| Best Practices for DTF Transfers for T-Shirts | Design and preparation: use high-resolution artwork (≥300 dpi); calibrate printer for color integrity; mirror designs when required; consider fabric texture and test on representative fabrics. Pre-press and garment prep: pre-press to remove moisture and wrinkles (5–10 seconds, medium heat); use a lint-free surface; place a protective sheet to prevent scorching. Transfer settings and timing: 160–170°C (320–338°F) for 12–15 seconds with firm pressure; follow adhesive guidelines and test on samples; maintain consistent pressure. Powder curing and handling: cure powder properly to avoid white specks or rough edges; follow powder manufacturer’s recommendations. Garment variety and color management: lighter fabrics typically yield more vibrant results; darker fabrics may need additional layering or different adhesive; test across shirt colors. |
| Troubleshooting Common Issues | Fading colors after washing: verify curing and heat/time; wash inside-out on cold cycles. White edge halos or ghosting: check peel technique and adhesive amount; ensure clean backing. Peeling at edges: verify adequate pressure and avoid over-curing. Cracking after multiple washes: test on different fabrics; adjust heat/time for durability. Ink bleeding: ensure proper curing and avoid over-wetting. |
| Care and Maintenance | Wash inside-out; cold water; gentle cycles; mild detergents; avoid chlorine bleach and fabric softeners; tumble dry low or line-dry; iron on reverse or with protective sheet; store flat or on a hanger to prevent creases. |
| Durability considerations | Consider fabric compatibility with heat resistance; color longevity depends on curing and washing care; design complexity should align with print resolution; provide clear care instructions to customers. |