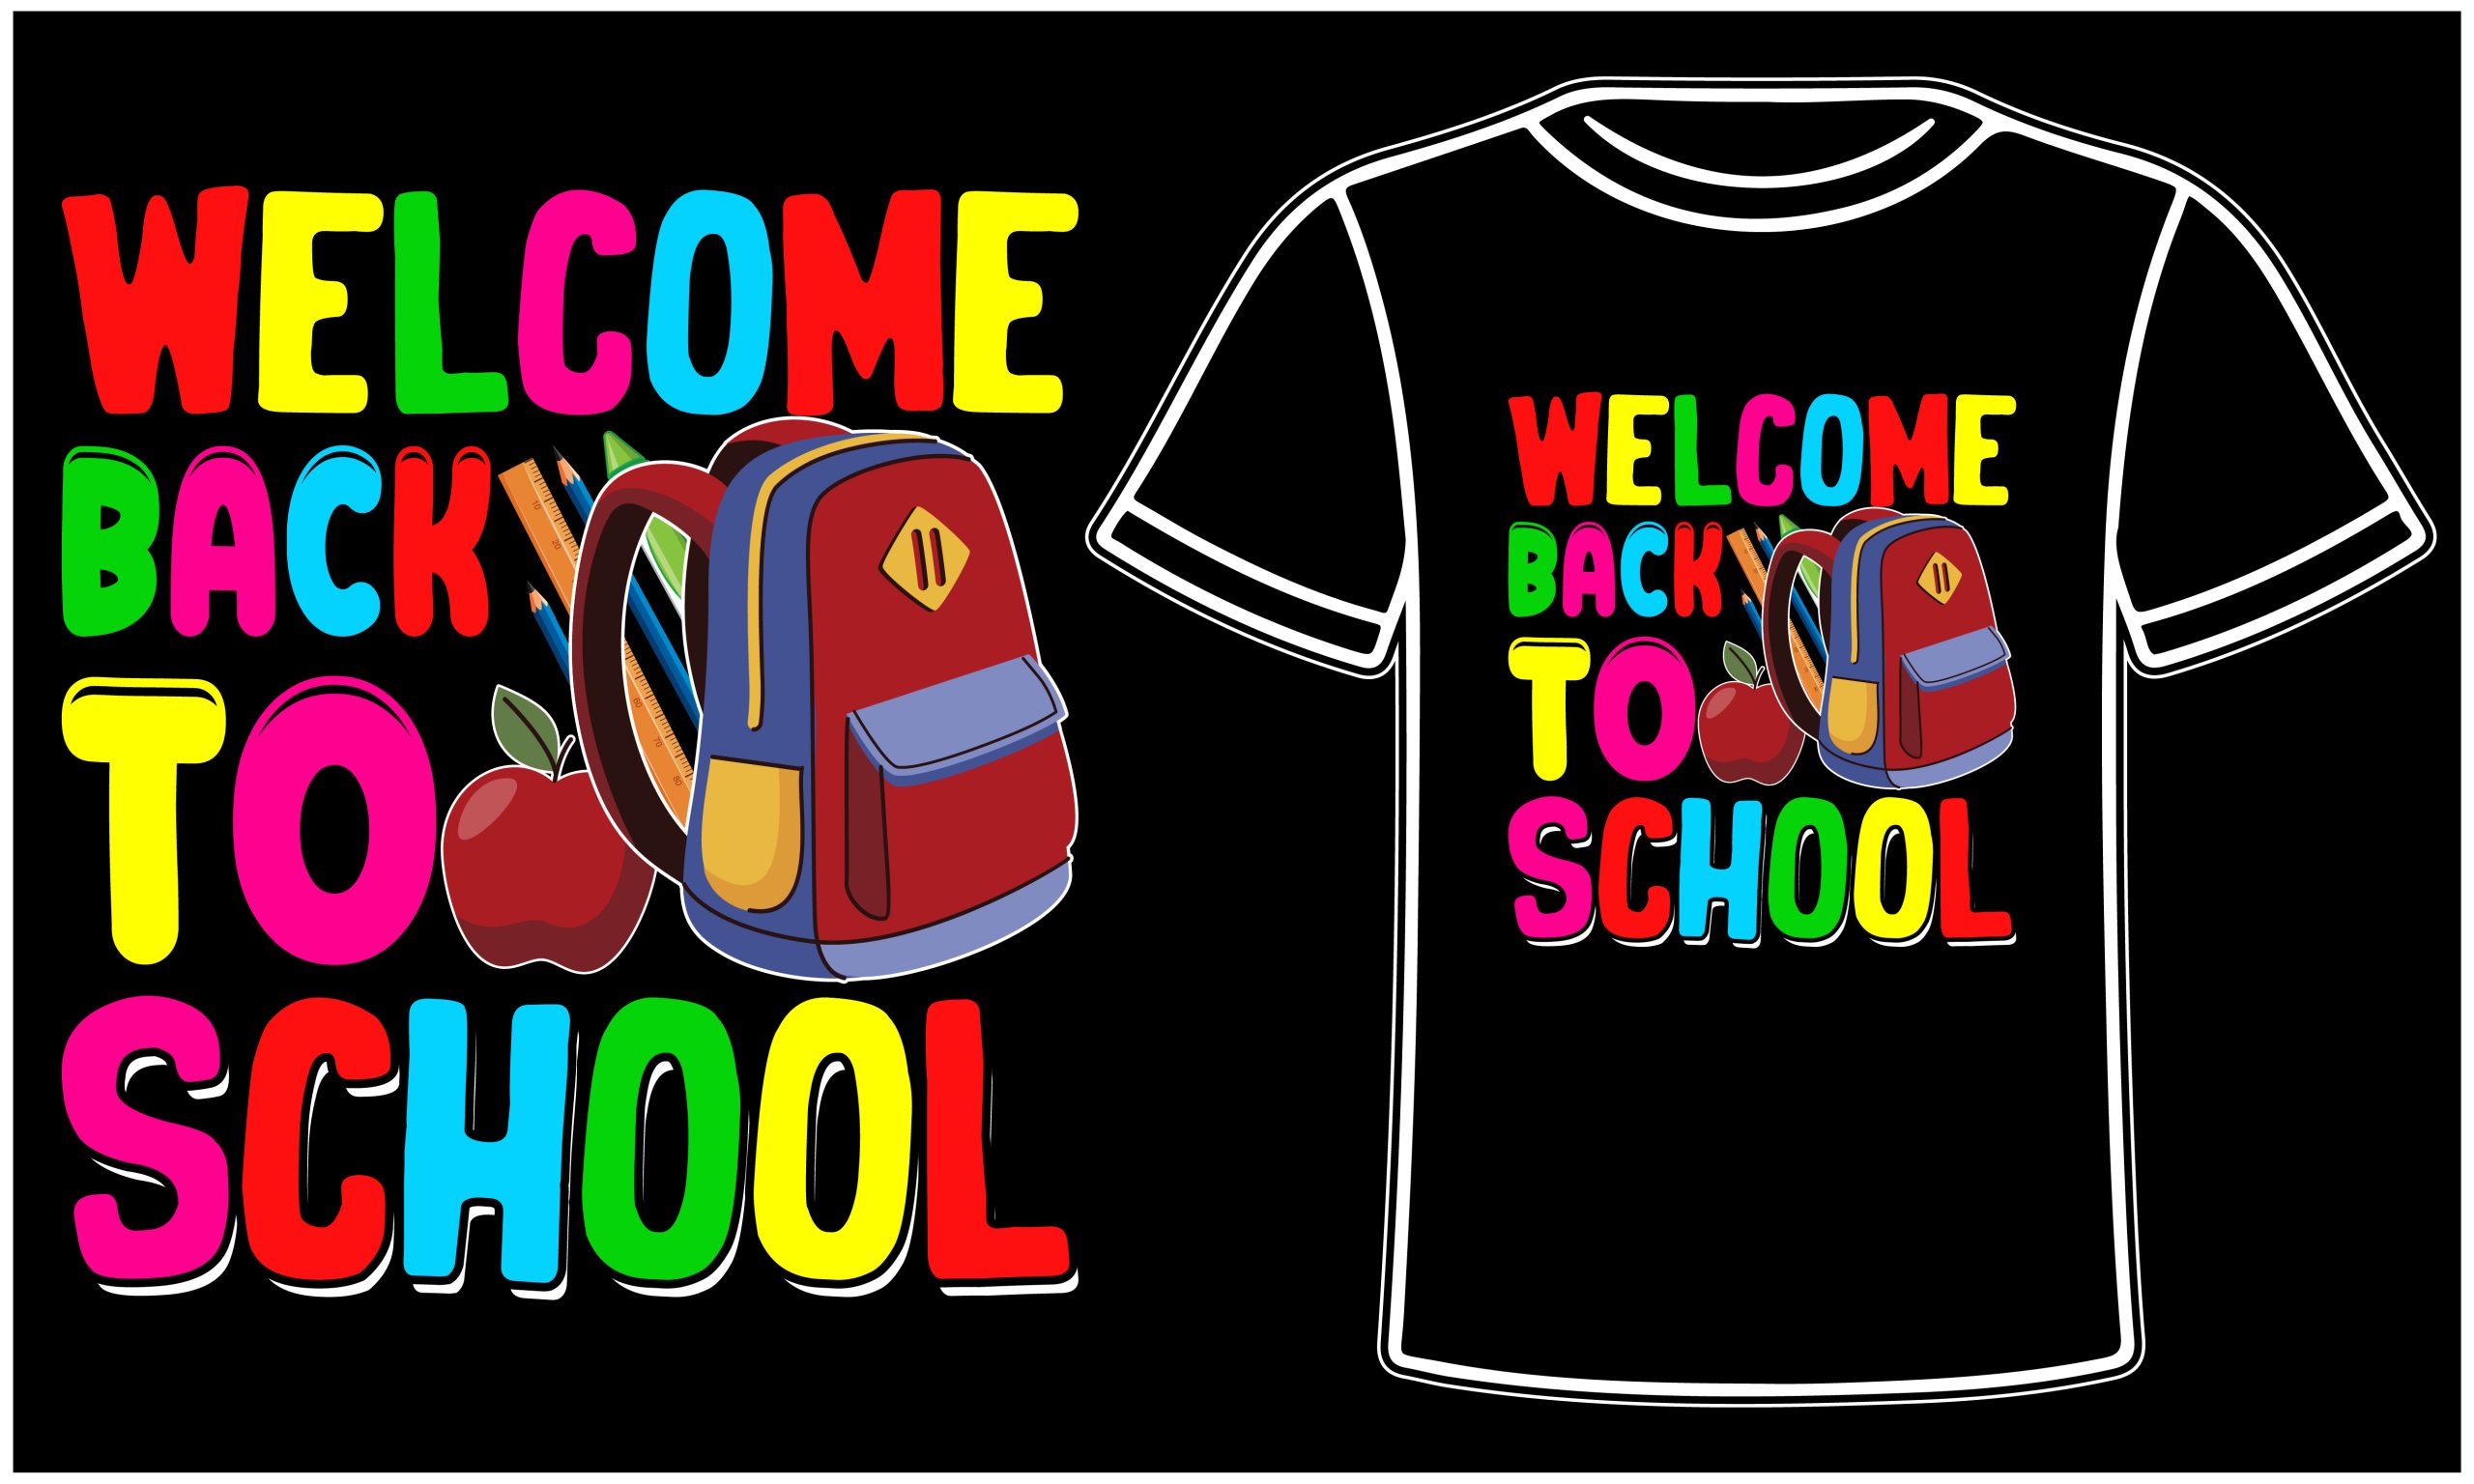
DTF transfers process: From design to garment guide
DTF transfers process is a versatile route for turning digital art into durable, vibrant designs on fabric. By combining Direct-to-film printing with specialized film, inks, and powders, this method delivers bold colors on both dark and light garments. Understanding the DTF transfer steps helps optimize color management, film quality, and powder adhesion for consistent results. DTF vs DTG is often debated, but this approach offers strong Fabric compatibility for DTF across a wide range of fabrics and textures. If you’re unsure how to apply DTF transfers, this guide outlines practical steps from design to finishing to ensure reliable adhesion.
Beyond the branding term, this method can be described as a film-based printing workflow that transitions artwork from a coated sheet to a fabric surface. Alternative terms you may encounter include the film transfer technique, the print-on-film method, or a direct-to-film printing workflow, all referencing the same core process. The emphasis in these LSIs is on the adhesive-backed film, heat-press activation, and how color sits on diverse fabrics, from cotton blends to synthetics. As you optimize content for search engines, consider discussing substrate compatibility, color fidelity on various fabrics, and post-press care to address Fabric compatibility for DTF and related concerns.
DTF transfers process: From design to durable garment
Starting the DTF transfers process begins with thoughtful design planning and proper file preparation. In this stage, you align artwork with a CMYK workflow, consider color management, and set up the file to match the film’s transfer path. By treating this as the foundation, you reduce misprints, color shifts, and wasted production time, while laying the groundwork for a smooth Direct-to-Film printing workflow.
Selecting the right materials and understanding the printing sequence are crucial to long-term success. The DTF transfers process hinges on choosing compatible film, inks, and adhesive powder, followed by a precise printing step using techniques common in Direct-to-film printing. Ensuring the white underprint is correctly planned for dark fabrics can dramatically improve opacity and color fidelity, a key factor in achieving durable results when applying DTF transfers to a variety of fabrics. In this phase, you’re also considering fabric compatibility for DTF to anticipate how different textiles will respond to heat and adhesion.
DTF transfer steps: Application, curing, and quality control
The core DTF transfer steps move from film printing to actual garment transfer. This includes pre-pressing the garment to eliminate moisture, calibrating heat press settings (temperature, time, and pressure), and choosing a peeling method that suits your film and powder. These steps — from pre-press to the final peel — determine edge definition, color brightness, and durability across wash cycles, and they align with best practices for How to apply DTF transfers.
Post-transfer care and troubleshooting complete the process. After applying the transfer, allowing proper cooling and following fabric-specific curing guidelines helps preserve adhesion. If problems arise, such as misregistration or color shifts, quick checks of film quality, powder distribution, and heat settings can resolve many issues. This stage also involves quality control, ensuring consistent results and informing improvements for future batches, while contrasting DTF versus DTG to help you select the right method for each project.
Frequently Asked Questions
What is the DTF transfers process, and what are the key DTF transfer steps from design to finished garment?
The DTF transfers process combines Direct-to-film printing with heat-transfer to move designs onto fabric. Key DTF transfer steps include: 1) planning the design and preparing the file, 2) selecting film, ink, and adhesive powder, 3) printing on film, 4) applying powder and curing, 5) transferring to fabric with a heat press, and 6) post-transfer care and troubleshooting. Each step affects color fidelity, durability, and fabric compatibility, so align film and ink quality with your garment type for reliable results.
How do I choose fabric and apply DTF transfers effectively, and how does DTF compare with DTG?
For fabric compatibility in the DTF process, focus on cotton, poly blends, and dark fabrics (often needing a white underprint for opacity), and consider prewashing to remove impurities. How to apply DTF transfers involves pre-pressing the garment, then pressing at about 300–320°F (150–160°C) with even pressure for 10–20 seconds, followed by the chosen peel method and a brief post-press cooldown. Regarding DTF vs DTG, DTF generally offers broader substrate compatibility, lower setup costs for small runs, and strong adhesion on dark or blended fabrics, while DTG excels on light-colored, 100% cotton garments but may require pretreatment and is often limited to fabrics suitable for direct garment printing.
| Aspect | Key Points |
|---|---|
| 1) Planning the Design and Preparing the File | – Design with high-resolution artwork, clean vectors for text, and colors that translate well to film; test gradients/halftones on the chosen film and ink system. – Use a CMYK workflow if printing with CMYK inks; convert Pantone colors to a compatible profile and expect slight shifts after transfer. – Prepare artwork with correct canvas size and bleed; use vector text when possible; ensure critical elements aren’t near the edge. – Export in color-preserving formats; calibrate printer settings for the film to achieve crisp lines and faithful color. Planning reduces misalignment, color shifts, and waste. |
| 2) Selecting Film, Ink, and Powder for DTF | – Choose film designed for DTF with proper release properties and stable thickness; thinner films can yield sharper detail but may require precise handling. – Use inks compatible with your film/printer; maintain color calibration and regular head cleaning. – Pick adhesive powder that evenly coats the printed film for reliable adhesion; match powder to garment material. – Brief curing after printing helps set the ink; handle films carefully to avoid contamination. |
| 3) Printing on Film: The Core of Direct-to-Film Printing | – Calibrate the printer for the chosen film/ink; perform regular maintenance. – Print at high resolution (roughly 720–1440 dpi) per material guidelines. – Use a white underprint on dark fabrics to improve opacity; plan alignment with the color design. – Allow film to dry/cure per ink vendor guidelines; a tack-free surface aids powder adhesion. |
| 4) Powder Application and Curing: Ready for Transfer | – Apply powder evenly with a shaker/sprayer to avoid clumps; aim for uniform coverage. – Remove excess powder with gentle tapping or air; ensure a clean textured layer. – Some powders require a brief curing step before pressing to reduce migration. – After curing, keep the film level and avoid touching the printable surface. |
| 5) Transferring to Fabric: The Pressing Phase | – Pre-press the garment to remove moisture and create a flat surface. – Use 300–320°F (150–160°C) with moderate to high pressure; typical press times are 10–20 seconds per transfer. – Apply even pressure to prevent incomplete transfers and ghosting; decide on cold vs warm peel after testing. – Allow cooling before handling to maximize adhesion and reduce smudges. |
| 6) Post-Transfer Care and Troubleshooting | – Wash inside-out in cold water with mild detergent; avoid high heat drying to protect the transfer. – Address issues like color bleeding or misregistration by rechecking film quality, powder distribution, and heat settings. – Store printed film in a cool, dry place and keep perpendicular to light to prevent degradation. – Use a QC checklist covering color accuracy, alignment, and finish to drive consistent results. |
| 7) DTF vs DTG: Understanding the Trade-offs | – Cost and setup: DTF often suits small runs and varied substrates; DTG may require pretreatment and higher upfront costs. – Image quality/durability: Ink chemistry, film quality, and post-treatment influence outcomes. DTF generally offers strong adhesion across fabrics, including blends and dark colors with a white underprint. – Garment compatibility: DTG excels on light-colored cotton; DTF supports a broader range, including darks and non-traditional fabrics. – Turnaround: DTF can be faster for varied batches; DTG benefits some direct garment workflows. |
| 8) Fabric Compatibility and Design Adaptations | – Cotton, poly blends, and polyester respond well to standard DTF; darker fabrics benefit from a white underprint. – Nylon/spandex blends may need shorter press times or lower temperatures. – Dark fabrics may require topcoats or adjusted post-transfer curing to preserve brightness. – Prewash fabrics to remove sizing and impurities; design with high-contrast, bold colors for readability; simplify fine details for textured fabrics. |
Summary
Table summarizing the key points of the DTF transfers process: planning/design prep, material selection (film/inks/powder), film printing, powder application, fabric transfer, post-care, DTF vs DTG considerations, and fabric compatibility. This table captures the essential steps and considerations from the provided content, offering a quick reference for implementing a robust DTF transfers process workflow.