
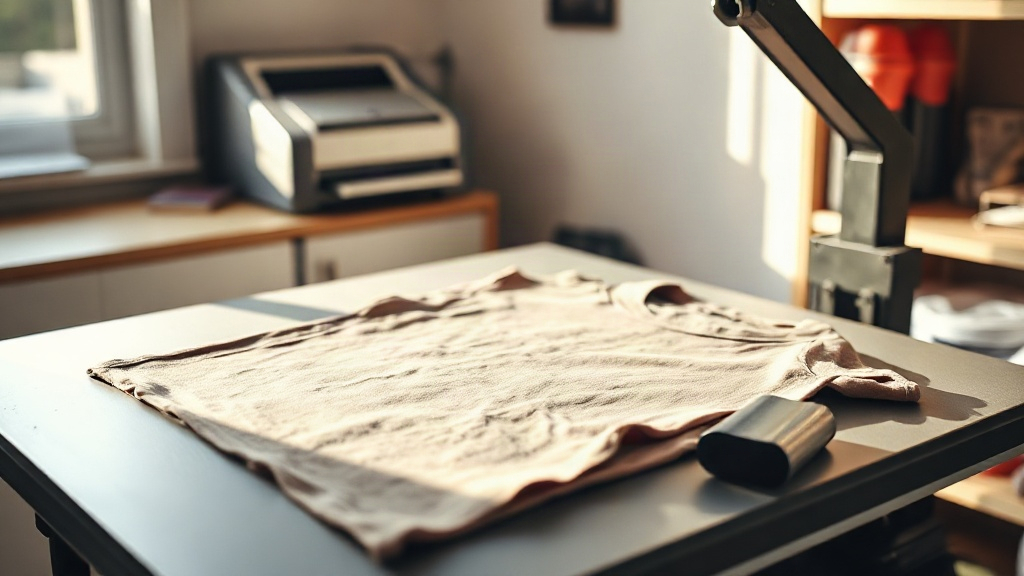
When a customer walks in with a phone photo of their dog and wants it on a heather grey hoodie by Friday, most decoration methods start to feel like a compromise. Vinyl can't reproduce the fur detail. Screen printing needs a minimum order and a separate screen for every color. That gap is exactly where DTF printing has found its footing, and it is the reason so many small shops have added a desktop printer next to their heat press in the last couple of years.
This guide covers what DTF actually is, how the workflow runs from file to finished garment, and the mistakes that cause most beginners to waste film, powder, and patience in their first month.
What DTF Printing Actually Is
The letters stand for direct to film. A digital printer lays down a mirrored version of your artwork onto a special PET film using water-based pigment inks, and a white ink layer sits underneath the color layers. That white layer is the entire trick. Without it, colors would be transparent and would disappear into dark fabric.
While the ink is still wet, the printed sheet runs through a powder shaker that coats the image with a hot-melt adhesive powder. The sheet then passes under a heater that melts the powder into a thin, slightly tacky film. What you end up with is a transfer that behaves a bit like a decal: flexible, stretchy, and ready to be pressed onto cotton, polyester, blends, canvas, even some nylon bags.
Compare that to DTG, which prints directly onto the garment and generally needs a pre-treated, mostly cotton surface. Or sublimation, which only bonds to polyester and light-colored substrates. DTF sidesteps both of those limits, and that flexibility is why it fits so well in shops that handle mixed orders.
The Step-by-Step Workflow
1. Preparing the Artwork
Artwork is mirrored before printing, so any text needs to be flipped. Beyond that, the main considerations are resolution and transparency. A clean PNG at 300 DPI with a transparent background gives the printer the best chance of producing crisp edges. Vector files are even better when you have them, since the RIP software can rasterize at whatever resolution the printer handles.
One thing worth knowing: very thin lines and tiny text below about 6 point tend to fill in or break apart after powdering. If a design has fine detail that matters, test it on a scrap garment before committing to a full run.
2. Printing and Powdering
Most desktop DTF printers run four color channels plus white. The white layer is usually printed first or last depending on the printer's configuration, and the RIP software controls the ink density. Too little white and the transfer looks washed out on dark shirts. Too much and the transfer feels thick and stiff.
Powder application is where a lot of beginners struggle. The goal is an even, light coat that sticks to the wet ink and nowhere else. If powder is clumping or the sheet feels gritty, the shaker is either dispensing too much or the ink is drying before the sheet reaches it. Humidity in the room matters more than most people expect, and a dry winter workshop will behave very differently from a humid summer one.
3. Curing the Powder
After powdering, the sheet passes through a curing oven or under a heat element. The powder melts, gels, and turns from white grit into a clear, glossy adhesive layer. Under-cured transfers peel in the wash. Over-cured transfers become brittle and crack along fold lines. Most manufacturers publish a temperature and dwell time for their specific powder, and it pays to follow it rather than guessing.
4. Pressing Onto the Garment
Pressing parameters vary by transfer and fabric, but a common starting point looks like this:
- Temperature: around 300 to 320 degrees Fahrenheit
- Pressure: medium to firm, enough that you can see the fabric texture through the film
- Time: 10 to 15 seconds
- Peel: warm or cold depending on the film and powder combination
After peeling, a second press of 5 to 10 seconds under a cover sheet helps the adhesive fully bond and gives the print a smoother, more matte finish. Skipping this step is one of the most common reasons a transfer feels slightly raised or plastic-like.
Why Shops Choose DTF Over Other Methods
The appeal comes down to a few practical advantages that show up in day-to-day production.
- No color minimums. A single shirt costs the same per print as the hundredth shirt in a run.
- Works on almost any fabric. Cotton, polyester, blends, and many synthetics all accept the adhesive.
- Full color without screens or setup. Gradients, photos, and fine shading come through without separations.
- Storage is simple. Printed transfers keep for months in a cool, dry place, so you can print during slow hours and press on demand.
That last point is a real workflow advantage. A shop can print a batch of transfers on Tuesday, store them in a binder, and press them as orders arrive through the week. It shifts the bottleneck from press time to print time, which is often easier to manage.
Common Problems and How to Fix Them
Transfers peeling after washing
This almost always traces back to one of three things: insufficient pressure, too short a press time, or an under-cured powder layer. Increase pressure first, then extend the press time by a few seconds. If the problem persists, check the curing stage.
Colors look dull on dark garments
The white ink layer is likely too thin. Bump up the white density in the RIP settings, or print a second white pass if the printer supports it. Also confirm the garment is flat and wrinkle-free under the press, since folds create uneven pressure.
Transfer feels stiff or rubbery
Too much powder or too much ink. Reduce the powder shaker setting and check that the ink density is appropriate for the design. A second press under a cover sheet also helps soften the hand feel considerably.
Powder sticking where it shouldn't
Excess powder on the clear areas of the film means the shaker is over-dispensing or the film is picking up static. A quick shake or a gentle brush with a soft cloth before curing usually clears it.
Is DTF Right for Your Shop?
If you handle small runs, mixed fabrics, or photo-heavy designs, DTF is one of the most versatile tools you can add. It does not replace screen printing for large single-color orders, and it will not match the softness of a well-executed DTG print on a white cotton tee. But for the messy middle ground where most real customer orders live, it solves problems that other methods simply cannot.
The learning curve is real, mostly around powder control and press settings, but it is short. A few afternoons of testing on scrap garments will teach you more than any manual, and once your parameters are dialed in, the process becomes genuinely repeatable.
Frequently Asked Questions
How long do DTF transfers last on a shirt?
With proper pressing and curing, most transfers survive 50 or more wash cycles without significant fading or cracking. Washing inside out in cold water and tumble drying on low extends that life considerably.
Can you DTF print on 100 percent polyester?
Yes, and it works well. Unlike sublimation, DTF does not require a polyester surface to bond, so it applies evenly to polyester, cotton, and blends. The main adjustment is lowering the press temperature slightly to avoid scorching synthetic fabrics.
Do you need a special printer for DTF?
You need a printer that supports DTF ink and white ink channels. Some shops convert Epson desktop models with third-party DTF ink systems, while others buy dedicated DTF printers. Either route works, but dedicated machines tend to handle white ink circulation more reliably.
What is the difference between DTF and DTG?
DTG prints directly onto the garment and generally requires cotton and pre-treatment. DTF prints onto a film transfer first, which is then pressed onto the fabric. DTF works on far more fabric types, while DTG offers a softer feel on light cotton shirts.
How should DTF transfers be stored before pressing?
Keep them flat or lightly rolled in a cool, dry place away from direct sunlight. Avoid stacking heavy items on top, and keep them away from humid areas, since moisture can affect the adhesive powder before it is pressed.