
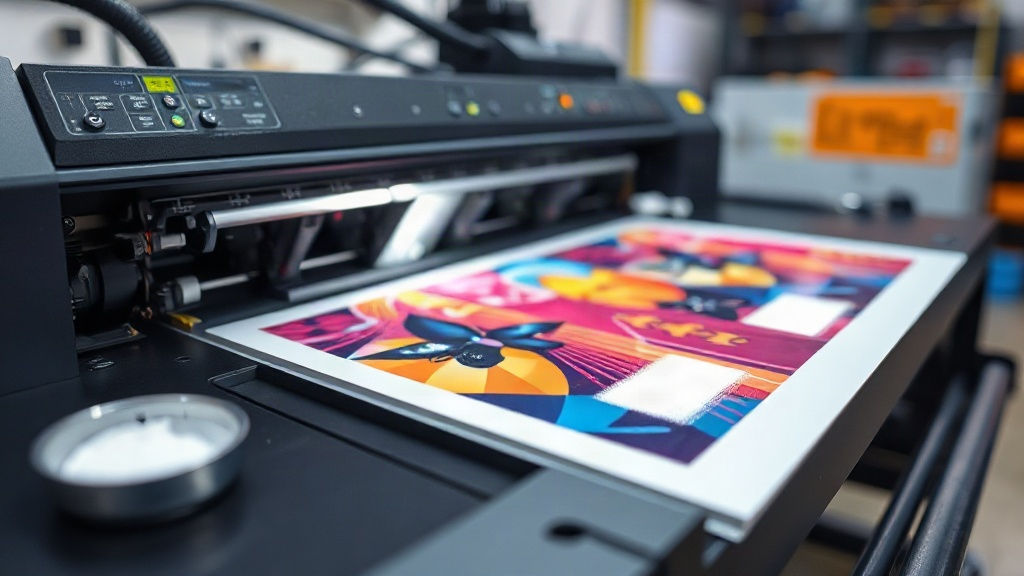
If you have spent any time in the custom apparel world lately, you have probably heard people talking about DTF printing. It stands for direct-to-film, and it has quietly become one of the most flexible ways to put full-color graphics onto fabric without the setup costs of screen printing or the limitations of vinyl cutting. The appeal is simple: you can print a detailed, multi-color design on a film, apply a adhesive powder, and heat press it onto almost any garment. Cotton, polyester, blends, even canvas totes and denim jackets. That versatility is why small shops and large decorators alike have added DTF to their production lines.
But there is a gap between seeing a DTF print and producing one that survives fifty washes without cracking. This guide walks through the practical details that separate a hobbyist setup from a reliable workflow, based on hands-on experience with different films, powders, and presses.
How DTF Actually Works
A DTF printer uses a set of pigment inks (typically CMYK plus white) to print a mirror-image design onto a special PET film. The white ink layer sits behind the color, which is what allows the print to show up on dark garments. After printing, you sprinkle a hot-melt adhesive powder over the wet ink, shake off the excess, and cure the powder until it turns from white to a clear, slightly glossy gel. The result is a transfer that can be stored for weeks and pressed on demand.
The key difference from DTG (direct-to-garment) is that DTF separates printing from pressing. You can print a batch of transfers on Monday and press them onto shirts on Friday. That decoupling is huge for workflow, especially if you take orders that come in unpredictably.
Film Choices Matter More Than You Think
Not all PET films behave the same. Double-sided matte film tends to give the most consistent powder adhesion because the matte side grips the ink and the powder evenly. Single-sided film can work, but you have to be careful about which side you print on, and some brands have a noticeable curl that fights you during feeding. If you are just starting out, buy a small roll of a reputable double-sided matte film and learn its quirks before bulk ordering. Film thickness also plays a role: thinner films (around 75 microns) conform better to fabric texture, while thicker films (100 microns) are easier to handle but can feel stiffer on the final garment.
Ink and White Layer Strategy
The white ink layer is the backbone of any DTF transfer. Too little white and the colors look muddy on dark shirts; too much and the print feels thick and rubbery. Most RIP software lets you control white ink density as a percentage. For light garments, you can often drop white to 50-60%. For black or navy garments, you want 100% white, sometimes with a second pass. A good rule of thumb: if you can see the fabric texture through the white layer when held up to light, you need more white.
The Powder and Curing Step
Adhesive powder is where a lot of beginners run into trouble. The powder needs to adhere to the wet ink, not the bare film. If your ink is too dry before powdering, the powder will slide off. If it is too wet, you get clumps. The sweet spot is usually within a minute or two of the printer finishing, depending on humidity.
Shake the powder over the print generously, then tilt the film and tap the back to remove excess. You want a thin, even coating. A common mistake is leaving too much powder, which creates a rough, sandy texture after curing. Once powdered, cure the film in an oven or under a heat source until the powder gels. The powder will go from opaque white to a clear, slightly shiny surface. If it still looks chalky, it is not fully cured.
Curing Temperature and Time
Most powder manufacturers recommend curing at around 160°C (320°F) for 2-3 minutes in a convection oven. Heat press curing is possible but trickier because the pressure can flatten the powder before it gels. If you use a press, keep the pressure very light and use a protective sheet. A cheap infrared thermometer helps you verify the actual film temperature rather than trusting the oven dial.
Pressing DTF Transfers Onto Garments
Pressing is where the transfer becomes permanent. The variables are temperature, pressure, and time. A typical starting point is 160°C (320°F) for 15 seconds at medium pressure. But garment type changes things. Cotton likes a bit more time; polyester needs lower temperature to avoid dye migration and scorching. If you are pressing onto a polyester performance shirt, drop to 140-150°C and extend time slightly.
Peel the film while it is still warm for a matte finish, or let it cool completely for a glossier, slightly more textured look. Warm peel is generally more forgiving and reduces the chance of lifting the print edges. After peeling, a second press for 5-10 seconds with a cover sheet helps the adhesive fully bond and improves wash durability.
Common Problems and Fixes
- Print cracks after washing: Usually under-cured powder or too little pressure during the final press. Increase press time or pressure slightly.
- Colors look faded on dark shirts: White ink layer too thin. Increase white density or add a second white pass.
- Powder sticks to the film backing: Ink was too wet or powder was applied too heavily. Reduce powder and wait a few extra seconds before powdering.
- Transfer peels off at corners: Uneven pressure or the garment had moisture. Pre-press the garment for 5 seconds to remove moisture before applying the transfer.
Why DTF Fits Small Shops and Side Hustles
The economics of DTF are attractive because there are no screens, no color separations, and no minimums. A single transfer costs pennies in materials, and you can print one-off designs without wasting a whole sheet. For a small shop doing custom baby onesies, team jerseys, or bachelorette shirts, that flexibility is worth more than the slightly higher ink cost per print compared to screen printing at volume.
Storage is also simple. Printed transfers keep for months if stored flat in a cool, dry place away from direct sunlight. That means you can build a library of popular designs and press them as orders come in, which shortens turnaround times and reduces rush fees.
Choosing a Printer and Setup
Entry-level DTF printers have dropped in price significantly. A 13-inch roll-fed printer with a built-in powder shaker is a common starting point. If you already own a DTG printer, some models can be converted with a film feed system, but the ink and maintenance requirements differ, so a dedicated DTF unit is usually less headache. Look for a printer with a reliable white ink circulation system. White pigment settles quickly, and a machine that does not agitate the white ink will clog and waste your time.
Ventilation matters too. Curing powder releases fumes, so a small exhaust fan or working near a window is not optional if you are printing indoors. A simple carbon filter setup can make a garage or spare room workable.
Frequently Asked Questions
Can I use DTF on 100% polyester?
Yes, and it is one of the best options for polyester because it does not require the fabric to absorb ink like DTG does. Use a lower press temperature (around 140-150°C) and pre-press the garment to reduce dye migration. A poly-friendly transfer film can further help.
How long do DTF prints last?
A properly cured and pressed DTF transfer typically lasts 50+ washes when the garment is washed inside out in cold water and tumble dried low or hung to dry. Harsh detergents and high heat are the main enemies.
Do I need a special printer for DTF?
You need a printer that uses DTF pigment inks and can handle PET film, plus a powder shaker and curing oven. Some people convert Epson eco-solvent or DTG printers, but a dedicated DTF printer with white ink circulation is more reliable for regular production.
What is the difference between DTF and DTG?
DTG prints directly onto the garment, which works best on 100% cotton and requires pre-treatment. DTF prints onto a film first, then transfers to the garment, which works on more fabric types and allows you to print transfers in advance and store them.
Can I layer DTF transfers for multi-color designs?
You can, but it is rarely necessary because DTF already prints full color in one pass. Layering is sometimes used for special effects or to add a second white layer on very dark fabrics, but it adds thickness and requires careful alignment.