
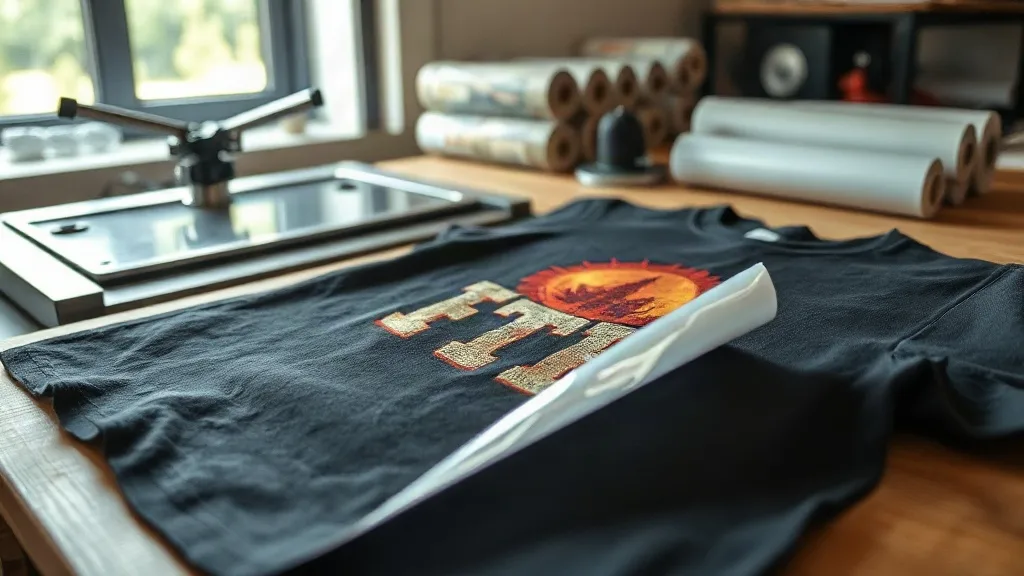
You pull a shirt off the press, peel the film, and there it is: a patchy white base, a cracked edge, or a color that looks nothing like your screen. DTF transfers are forgiving in many ways, but when something goes wrong, the defect often points to a specific step in your workflow. This guide walks through the most common failures I see in real print shops and how to trace each one back to its root cause. Whether you are running a small garage setup or a busy production floor, these fixes will save you film, powder, and time.
Start With the Symptom, Not the Setting
Most printers react to a bad print by changing five settings at once. That approach makes it impossible to know what actually fixed the problem. Instead, treat each defect as a diagnostic clue. A cracked print after washing is not the same problem as a print that never adhered in the first place, even if both look like "the transfer failed." Before you touch your RIP profile or press temperature, identify the exact symptom. The table below is the mental checklist I use when a dtf print goes sideways.
Quick Diagnostic Reference
- Patchy white base: powder application, humidity, or curing temperature
- Color shift or dull prints: ICC profile, ink limits, or film batch
- Cracking after wash: stretch factor, cure level, or garment fiber content
- Powder not melting: oven temperature, dwell time, or powder moisture
- Film curling or jamming: storage conditions or printer feed rollers
Once you name the symptom, the fix usually narrows to one or two variables. Let's go through each one in detail.
Powder and Curing Problems
The powder step is where most dtf transfers fail, and it is also the step most printers rush. Adhesive powder needs to melt evenly and fuse to the ink without scorching it. If your white base looks grainy or waxy after curing, the powder did not melt completely. If it looks yellowed or brittle, you overheated it.
Powder Clumping and Uneven Application
Clumpy powder is almost always a moisture problem. Powder absorbs humidity from the air, and once it clumps, it will not distribute evenly across the wet ink. Store powder in an airtight container with a desiccant pack, and never leave the lid open during a long print run. If you live in a humid climate, consider a small dehumidifier near your powder station. Shake the powder gently before use, and apply it with a consistent motion rather than dumping it on. A thin, even layer is what you want, not a thick blanket.
Oven Temperature and Dwell Time
Every powder has a recommended curing window, usually between 160°C and 180°C for 60 to 90 seconds. But those numbers assume your oven is actually at the set temperature. Use an infrared thermometer to verify the actual temperature inside the chamber, because many small ovens run hot or cold by 10 to 15 degrees. If the powder is not melting, increase dwell time before you increase temperature. Overheating can warp the film and cause the ink to crack later.
Color Shift and Ink Issues
Color problems are frustrating because they often appear without warning. One day your prints are vibrant, the next they look washed out or muddy. The cause is usually one of three things: a profile mismatch, an ink limit that is too high, or a bad batch of film.
ICC Profiles and RIP Settings
If you switch film brands or ink suppliers, your old ICC profile may no longer be accurate. Rebuild or recalibrate your profile whenever you change a consumable. In your RIP software, check that the ink limit is appropriate for your printer. Too much ink causes bleeding and dulls the color; too little leaves the print looking chalky. Print a small test strip with a color target and compare it to your reference. If the colors are off, adjust the profile before you adjust the printer.
Film Batch Variation
Film is not always identical from batch to batch. A slightly different coating thickness can change how the ink sits and how the powder adheres. If you notice a sudden shift in color or adhesion and nothing else has changed, try a different roll of film. Keep a log of batch numbers so you can trace problems back to a specific shipment. This is especially important if you are buying dtf transfers near me from a local supplier who may source from different manufacturers.
Adhesion and Durability Failures
A print that peels after the first wash is a costly defect, especially on a large order. Adhesion problems usually stem from the garment itself, the press settings, or the cure level of the transfer.
Garment Fiber and Preparation
DTF adheres best to cotton and cotton blends, but it can work on polyester and synthetics with the right settings. However, garments with a heavy silicone finish, water repellent coating, or high polyester content can resist adhesion. Always pre-press the garment for a few seconds to remove moisture and flatten the fibers. If the fabric has a visible sheen or feels slick, it may have a finish that needs to be washed out before printing. Test on a scrap piece first.
Press Pressure and Temperature
Insufficient pressure is a common cause of poor adhesion. The transfer needs firm, even pressure to push the adhesive into the fabric. Check that your press is level and that the pressure is consistent across the platen. Temperature matters too: most transfers press at 150°C to 160°C for 10 to 15 seconds, but thicker garments may need a few extra seconds. Always follow the transfer supplier's recommendations, and do not guess.
Cracking and Stretch
Cracking after washing often means the print was over-stretched during application or the ink was not fully cured. If you are printing on stretchy fabrics, use a transfer designed for stretch and press with a slightly lower temperature for a longer time. Also, make sure the transfer is completely cool before you peel the film. Peeling while hot can distort the print and weaken the bond.
Storage and Environmental Factors
Your dtf transfers can be perfect when they leave the printer and still fail later if they are stored incorrectly. Humidity is the enemy of both film and powder. Store unprinted film in a cool, dry place away from direct sunlight. Printed transfers should be kept flat and covered to prevent dust and moisture from settling on the adhesive. If you live in a humid area, invest in a sealed storage bin with silica gel packs. I have seen printers lose entire rolls of film to humidity without realizing it until the prints started failing.
When to Call It a Day
Sometimes the fix is not a setting but a consumable. If you have ruled out powder, press settings, and garment issues, and the problem persists, it may be time to replace your film or powder batch. Keep a small notebook or digital log of every change you make, including dates and batch numbers. That record will save you hours the next time a defect appears. The best dtf printers are not the ones who never have problems, but the ones who can trace a problem to its source quickly and get back to production.
Frequently Asked Questions
Why does my DTF transfer look grainy after curing?
Grainy texture usually means the powder did not melt fully. Check your oven temperature with an infrared thermometer, increase dwell time slightly, and make sure the powder is dry and evenly applied. If the powder is clumpy, replace it.
How can I prevent color shift between batches?
Recalibrate your ICC profile whenever you change film or ink, and keep a log of batch numbers. Print a small color target with each new roll to catch shifts early. Also, verify that your RIP settings have not been accidentally changed.
My prints crack after washing. What am I doing wrong?
Cracking is often caused by under-curing or over-stretching during application. Ensure the transfer is fully cured, press at the recommended temperature and pressure, and let the transfer cool completely before peeling. On stretchy fabrics, use a stretch-friendly transfer and avoid over-stretching the garment when pressing.
Can I use DTF transfers on polyester?
Yes, but polyester requires lower pressing temperatures to avoid dye migration and fabric damage. Use a transfer designed for synthetics, press at a lower temperature for a longer time, and always test on a scrap piece first.
How should I store unused DTF transfers?
Store them flat in a cool, dry place away from direct sunlight. Keep them in a sealed container with a desiccant pack to protect against humidity. Avoid stacking heavy items on top of them, as pressure can damage the adhesive layer.